 In the first post of my blog photography series I shared an in depth post all about how to create and style a beautiful photo (which you can go back and read here if you missed it), so the next step in the process is of course taking that perfect picture! When it comes to my photos, the one question I get asked the most is how I edit my photos, but rarely how I take them, which I think is the question that is actually more important. Once you suss how to take a decent photo then it likely won’t need a lot of editing at all, just a few minor tweaks. Which is fab if you don’t like to spend ages editing tons of blog photos! I think I’ve always had a particular style seen across my photos, which I aim to be dreamy, light and airy, so here are my top tips on how to take those beautiful photos that you’ve always dreamed of taking!
 Lighting
Lighting is the most important factor for me when I’m taking any photo, in fact I’m extremely fussy about it. I only ever use natural daylight to light my photos, I’ve tried using soft boxes and for me they just give off too much of a false flash effect that I’m never happy with, and can look too harsh if you’re going for a light and soft effect, so good old daylight has always been my bestie. Finding the perfect space for natural light can take a few attempts, but try to find the best lighting in your house (or wherever you may be shooting) which is usually the side where the sun faces, next to a window or a door to get the best possible use of that light.
As I use natural lighting, the weather can play a huge part in the overall outcome of a photo, and I find the best weather circumstances for me are on a bright day with light cloud. Sometimes I can get away with it if it’s a bit overcast but anything too gloomy will make my photos too dull and hard to brighten, and contrarily if it’s too sunny it can look too yellow toned with harsh shadows. That’s just a personal preference though, as some people can take gorgeous sunlit shots that I would love to be able to create! Much like these gorgeous shots here and here taken by the lovely Laurzrah.
 As I said, I can be really fussy about the lighting so if the weather isn’t quite right I generally don’t bother setting up a picture as I know I’ll struggle to get a shot I’m happy with, and I only like sharing content I really love. So on a good lighting day I’ll try to take advantage and get lots of photos taken for various different blog posts. I find the best time of day for lighting between 11am-4pm, in the Winter that time frame is cut short and in the Summer I have a few more hours to play with.
A great tip to get the best possible use out of your lighting is by using a light reflector. You can get light reflectors really cheap on eBay, and I’ve been meaning to buy one for a while, but I simply make do with a large piece of white board that I prop up next to my set-up to reflect the light on the opposite side where the sun is. It helps to boost the overall light, decreases any harsh shadows and diffuses the light more evenly across your shot. I don’t use this all the time but occasionally when I feel the photo needs it.
 Camera
I’m certainly no professional when it comes to camera equipment, even though I’m happy with the photos I’ve been taking recently, I still have a lot to learn and I definitely still get envious of other people’s skills behind the lens. I find that having a genuine passion helps wonders because the more you create, the more you learn and thus improve along the way. Years ago I used to take my old blog photos on my ugly yellow desk in my uni bedroom, with a Nikon CoolPix (lol!) and zero editing… hey, we’ve all gotta start somewhere right haha! So I’d like to think I’ve progressed somewhat in the past six years or so god help me.
 Even though you can 100% make do without any expensive camera equipment, I feel like the photos I’ve taken with my DSLR camera just take them up step into being something a little bit more professional looking. Since I’ve invested in my Olympus Pen it’s enabled me to not only take photos that I love, but am also proud of! Although navigating all of the settings and figuring out what they actually do can be tricky on any camera, especially when you know nothing about them at first like me!
I like to use my Olympus Pen in manual mode so that I have control over the settings and can adjust them as and when I need to. I mainly alter the Aperture which gives me control over the depth of field so I can adjust how much of a blur I’d like in the background. The bigger the aperture (i.e. the more blur in the background) the more light is let into the lens which also helps to create a brighter picture. I find that portrait photos with a blurry background can look so dreamy and soft!
I’ve only touched on this very briefly as it may be a little confusing if you’re a photography newbie (I definitely confuse myself with it sometimes!) so I’ll be sharing a more in depth run down of my Olympus Pen with tip and tricks in a later post in this series!
 iPhone
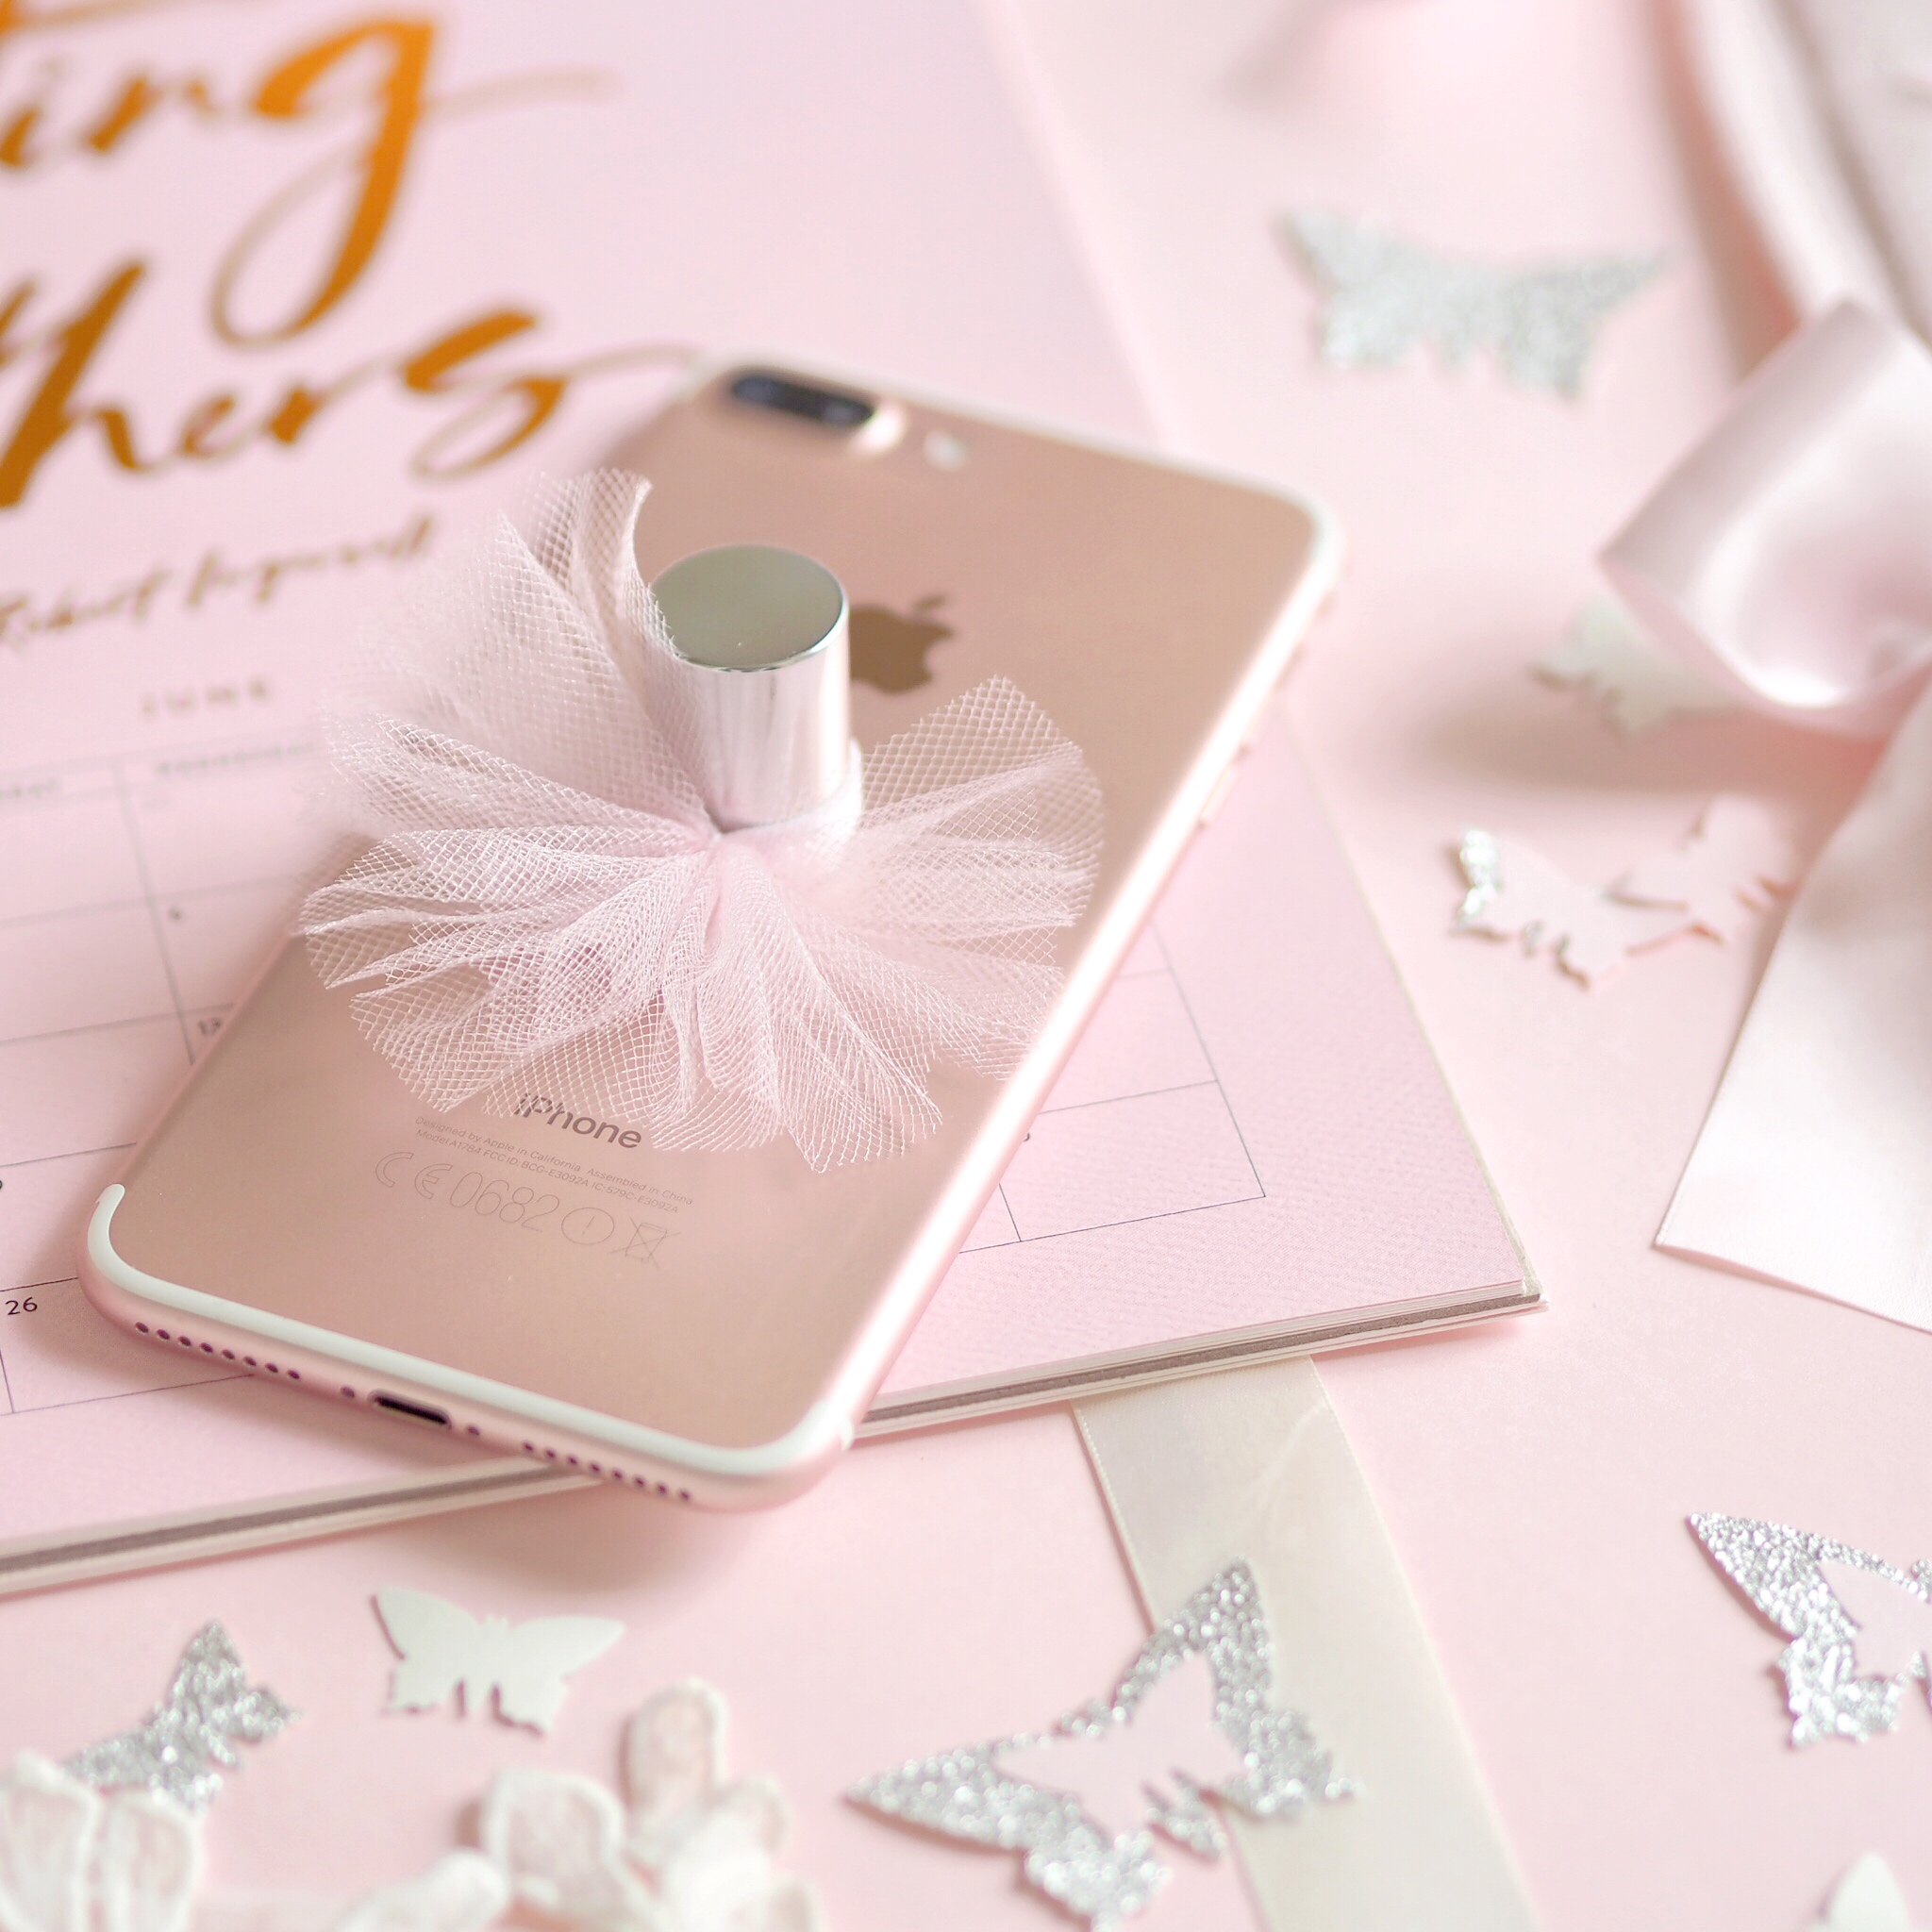
Even though I currently take most of my photos with my Olympus Pen, you definitely do not need a fancy camera! Nowadays phone cameras are incredible compared to what they used to be, and you can take some beautiful shots with them. In fact, up until late 2017 99% of my photos were taken with just my iPhone (I currently own a 7 Plus) and I still use it to snap photos with when I’m out and about, especially for my Instagram stories which are a little more relaxed. This photo, this photo and this photo were all iPhone shots.
Some simple iPhone camera tips are: 1. Tap the screen to focus on the main part of the image which will make it nice and clear. 2. Move your finger to adjust the exposure, moving it up will increase the exposure making it brighter and moving your finger down will do the opposite. I like to increase the exposure but only a little because if you over do it, the photo can become grainy. 3. The portrait mode on the iPhone can make a photo look super sleek and like it was taken on a fancy camera, so definitely try it out! 4. It might sound super obvious but you’d be shocked at how many people forget – wipe your lens! It protrudes out from the phone itself so it’s likely to get a little grubby which can make a picture look blurry and the detail not quite as sharp. A simple wipe of the lens can make all the difference!
Keep a lookout for the next post in this series which will be all about editing a gorgeous, light & soft photo!
Catch up: Styling Beautiful Photos & Blog Prop Ideas
Instagram | Twitter | Pinterest

SaveSave


Emily Newstead says
Your photos are absolutely stunning!
Emily xo
http://www.emilynewstead.blogspot.co.uk
Catherine Marie says
Aw thank you doll! xo
Cocooning_Addict says
All of those tips are super interesting. I’m gonna keep that in mind next time I take pictures ! Thanks a lot !!
Catherine Marie says
No problem lovely, thank you for reading and I hope it’s helped! xo
Joyful Dreams says
Thanks for sharing us these tips 🙂 I love your universe and your IG picture, I find it so lovely!
Kisses xo
Catherine Marie says
Aw no problem, thanks so much! xo
Arianna says
I am loving these series of posts! All of your tips are so helpful. I am totally going to try them out. I absolutely adore your photos Catherine! They’re all so dreamy ☁️💕⭐️✨
Southernbf.blogspot.com
Catherine Marie says
Ahh thank you doll, I’m so glad you’re loving this series as I’ve spent so long on them! I hope you find them useful and takes some beautiful photos! xo
Laura says
Thanks for the mention, lovely! You know I loooooove your pictures x
Catherine Marie says
Aww no worries lovely! Had to include your beautiful pictures as an example! xo
Lexie says
I loved this post! Your photos are always so dreamy and princessy! I take all of my photos on my iPhone and I’m always so impressed with how they turn out, although I would love to have a camera someday! 💖
Catherine Marie says
Ah that’s so lovely of you to say, thank you Lexie! It’s so surprising what you can take with an iPhone camera nowadays isn’t it! xo
Charlotte Lane says
Your photographs are definitely dreamy, light and airy! I love them! My style changes daily – I love bright photos but then I also love that moody looking contrast-y style too! It’s amazing that you have such a unique and personal style, hopefully I can find mine soon/in the near future.. xo
Char | http://www.charslittleblog.co.uk
Catherine Marie says
Aww that’s so lovely, I’m glad you think so! Ah yes I love that style of photography too, I love lots of different photography styles, I just get scared of things not matching haha! You take beautiful photos Char xo